Rose Bun Hairstyle is the ideal combination of feminine and elegant. This is one of the rare styles that are both distinctive and complex while being simple to style in daily life. My favorite way to wear this look is with more edgy clothing, which adds a lot of contrast to my look.
So, lets start with our 2 Mins Step by Step Rose Bun Hairstyle process
Things you need: Two hair bands, a brush, and around fifteen hairpins are required for this hair lesson.
Table of Contents
Step 1
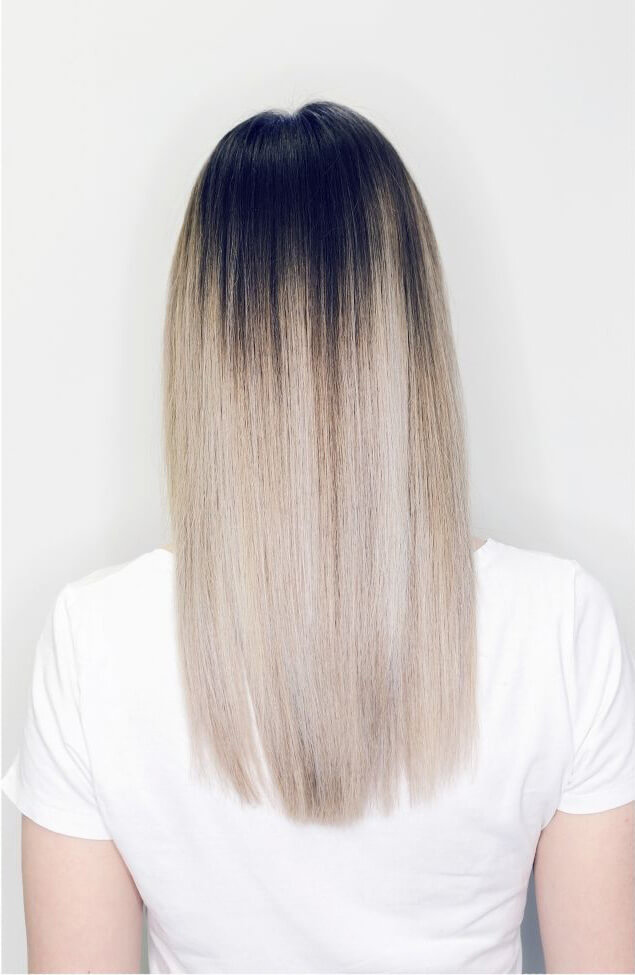
Start by letting your hair down. Before you begin to give it a more full look, add some huge, loose curls.
Step 2
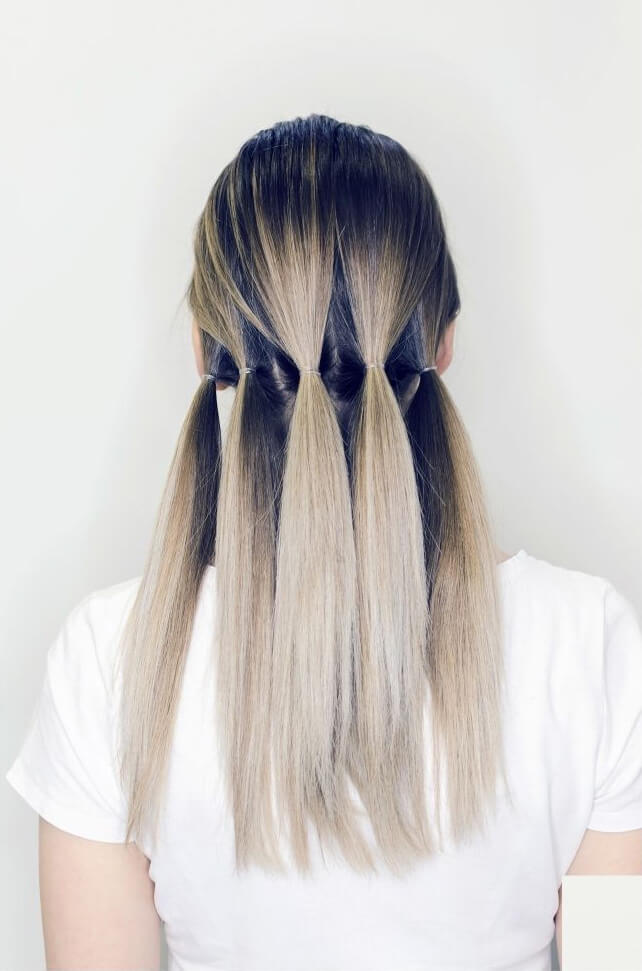
Part your hair and bind it with a hairbands. Try teasing the top of your head if your hair is naturally thin or flat. This will not only give your hair more body, but it will also assist the hairstyle to stay in place for a longer period of time.
Step 3
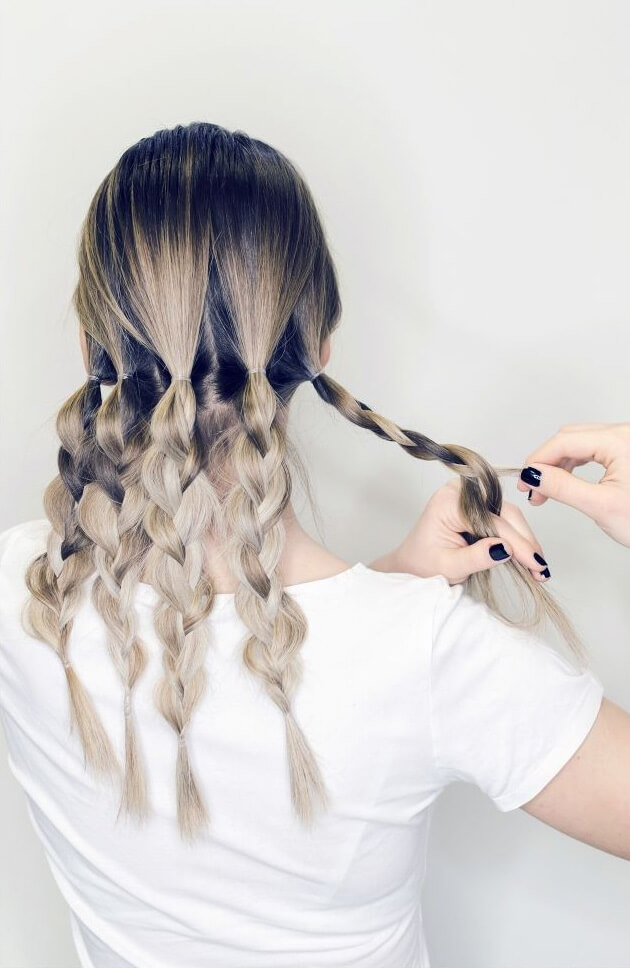
Make a few braids using the portion you just fastened with hair bands. The final appearance of your style will be determined by the tightness of your braid. Make a loose braid if you want the “rose” to be larger and more plain. Make a tighter braid if you want a smaller, more detailed rose. Secure the braids with tiny, elastic hair bands after you’ve reached the end.
Step 4

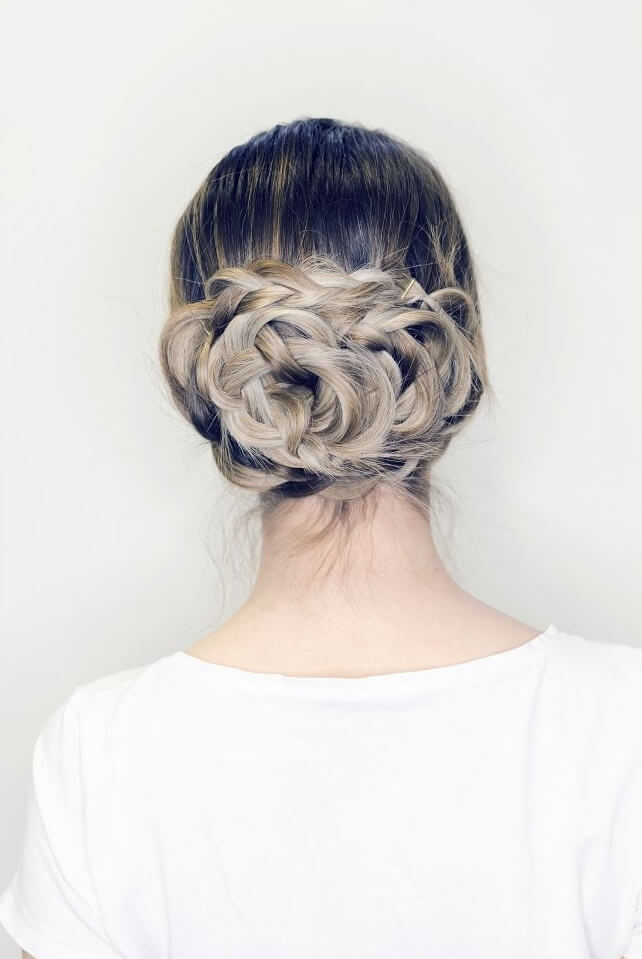
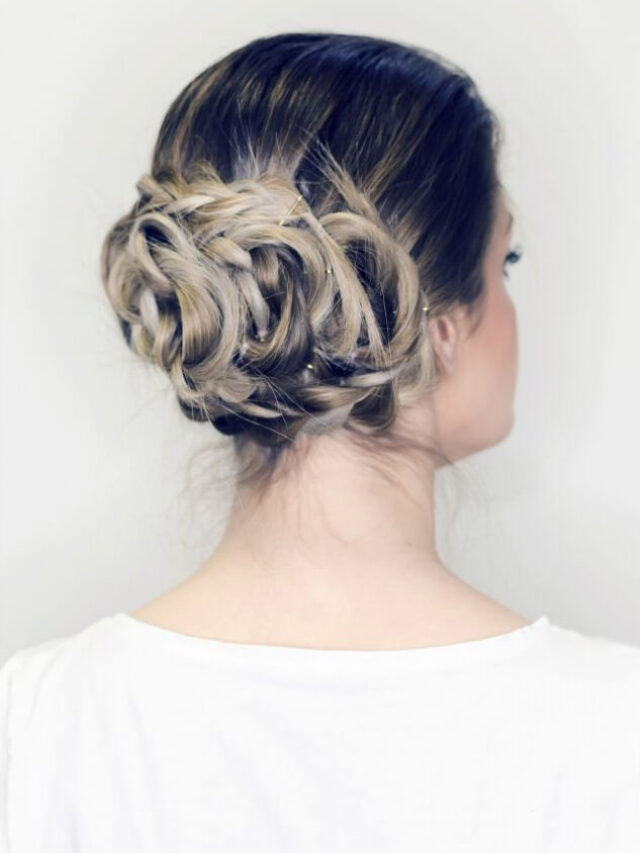
Begin winding the braids in a coil after it is finished. Continue to wrap the braids until it begins to resemble a bun.
Step 5
Step 6
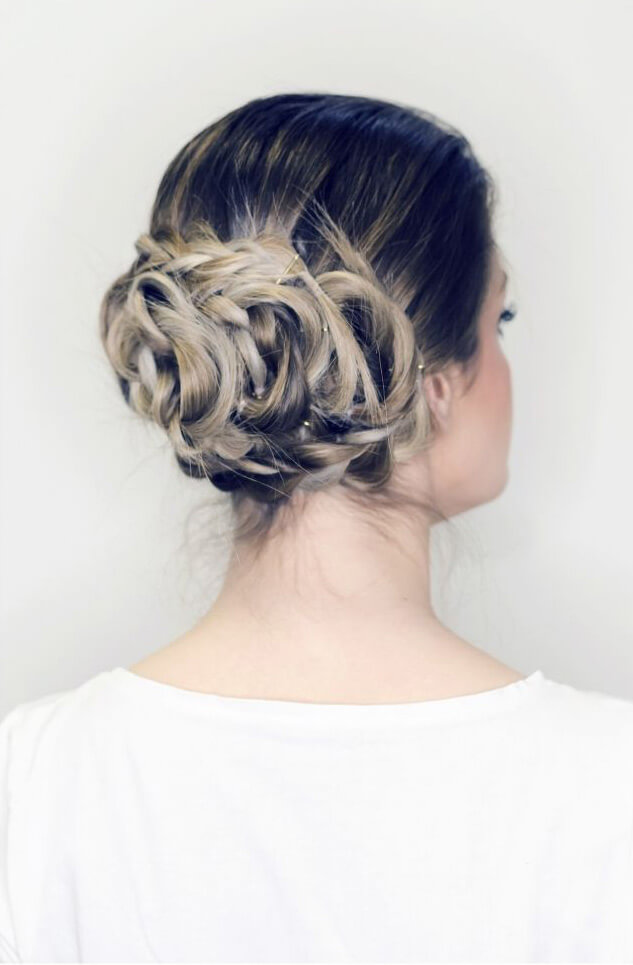
Secure the braids with hairpins once you reach the top of them at your scalp. I used 12 pins, but the amount you need depends depend on your hair’s length and thickness. Take a tiny comb and softly pluck at small parts across the rose to make it look larger. This will loosen your hair and give it a more textured, disheveled look.
Creative, versatile, and passionate about her craft, Rupa Das is a well-recognized name in the world of fashion and makeup! This is a woman who has been in the fashion and makeup industry for 24 years and is still one of the leading international makeup artist in the circuit! She has worked in big brands like Lakme, Green Trends, Colors and transitioned to become a Beauty (Hair & Skin) Trainer.